Rising to the Occasion

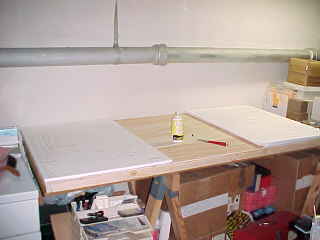
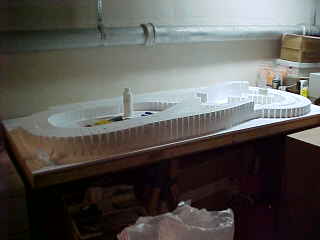
OK, now we can get down to some "train making".

The first step in making the "Scenic Ridge" layout is to place the base pieces. These have the track plan printed on them and the location of the tunnel portals, etc.
Next is to place the track in the proper location. At this time, you find out that the track plan has been changed since Atlas made the "Track Pack" for the layout. No big deal, though. What is missing is easily "faked" using two pieces that are left over. What the plan calls for is a 2½" straight track and you have 4 pieces of 1¼" track. See what I mean?
Time to pick up the track and start putting in the risers. These are 2" high and allow you to have terrain below the level of the track bed. This will be the last of the flash pictures that I use. The "white on white" of the foam pieces washes out.
If you compare this with the track picture above, you see where the bridge will be located. There is still a lot more to do. I am using the recommended "low-temp" hot glue gun that is distributed by Woodland Scenics.
Here, the layout has been turned 180º so that the back of the layout is now towards the camera. (I'll be doing this a lot. I really can't get at the back of the layout where I chose to locate it.)
You can see the bridge break is now at its full height. The high portion facing you is the dual track which is going "up the hill". At the point where they split, the one closer to you will enter a tunnel portal. The near break is where the tracks will "cross-over" within the tunnel.


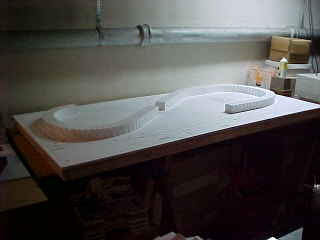
At this point, I have used all the Foam Nails to hold the double thickness of riser and the sloped portion together as the Foam Tack Glue dries. Time to let every thing dry and come back another day.

Back Home Up Next

Please be advised that some of the names of products, services, manufacturers, et al. are ©, ® or ™ by their respective owners and are used here with permission. All photos and content are © 2000 - 2007 by Scott Gordon Enterprises, Inc. All Rights Reserved.