 |
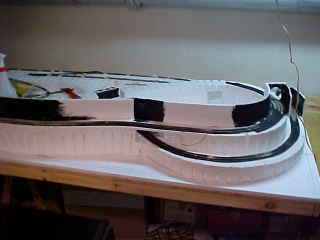
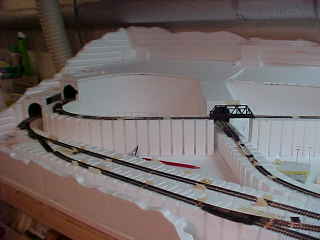
After the roadbed is installed, walls are
put in for the tunnels. In the center of this photo is the lower center
tunnel from a slight angle. The black paint is so that you don't see stark
white while you are looking towards the tunnel entrances. The track has
been installed (what is inside the tunnel areas) and ballasted at the
portals. |
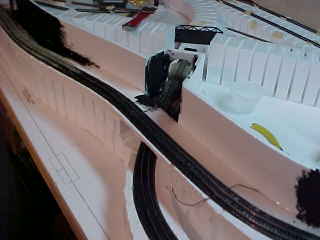 |
Here is a more "straight on" look
toward the lower center tunnel. |
 |
Here is a close-up of the most "right
side" tunnel portal. Here you can see the ballast on the tracks. |
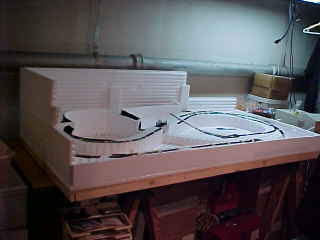 |
The front, back and sides are now erected
using what Woodland Scenics calls "profile board and
connectors". |
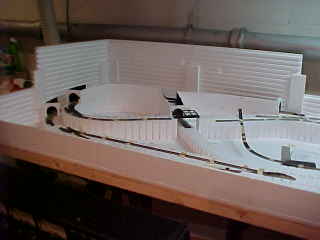 |
Here is a good shot of all four portals.
I'll repeat this shot (angle) when everything is finished. |
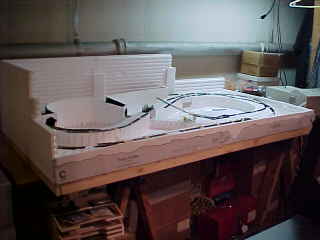 |
There are paper "patterns" of what
the profile should look like when you are done. |
 |
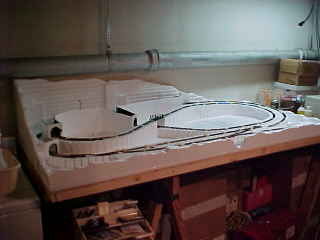
These are attached to the front, back and
sides of the layout. You then use the foam pencil (supplied in the kit) to
trace the contours onto the facing Styrofoam. |
 |
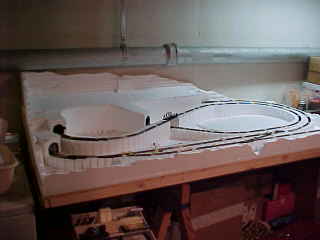
Here it is all cut. You can get an idea of
what the landscaping will look like already. The notch in the front of the
board will be a stream that comes from the top of the ridge. |
 |
This shot looks almost the same. The
difference is the tunnel roofs are now in place. |
 |
Here's a bit of a closer shot at the
tunnels and their roofs. |
 |
From a slightly different angle. I am now
out of the low temp hot glue. I'll have to pick up some more. |
